版本
apisix:2.11.0
apisix-dashboard:2.10.1
APISIX
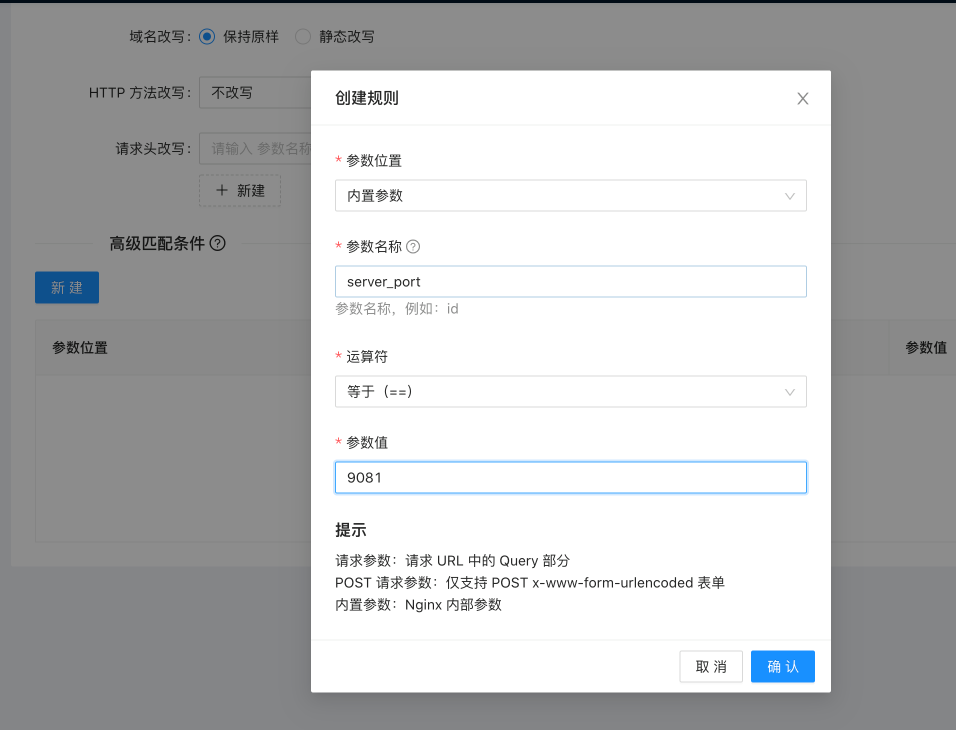
内外网隔离
新建一条高级匹配条件,使用server_port内置参数:
配置 https
第一步:conf/config.yaml
1 | apisix: |
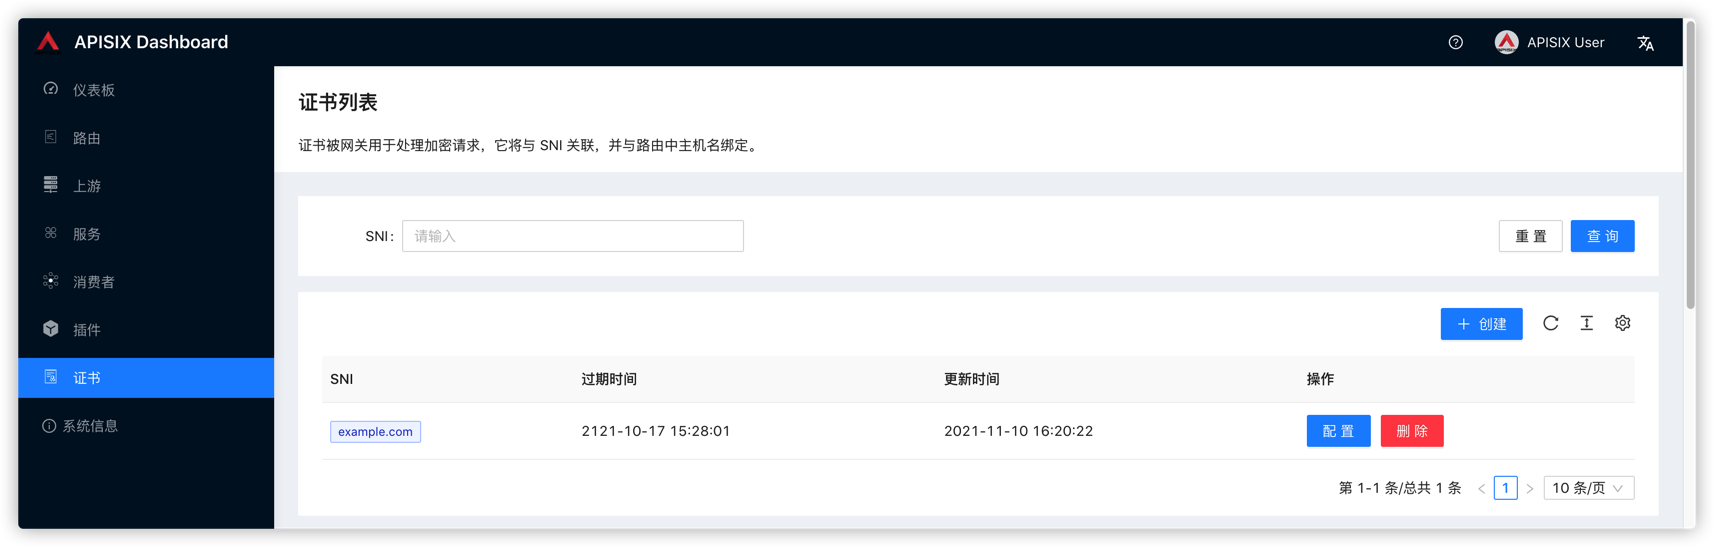
第二步:上传 SSL 证书
- 可以通过接口上传https://apisix.apache.org/zh/docs/apisix/admin-api#ssl
- 可以通过 dashboard 上传
配置 ETCD TLS
conf/config.yaml
1 | apisix: |
注意
如果
verify=true,需要自己为 Apache APISIX 构建 OpenResty如果
verify=false,则不需要
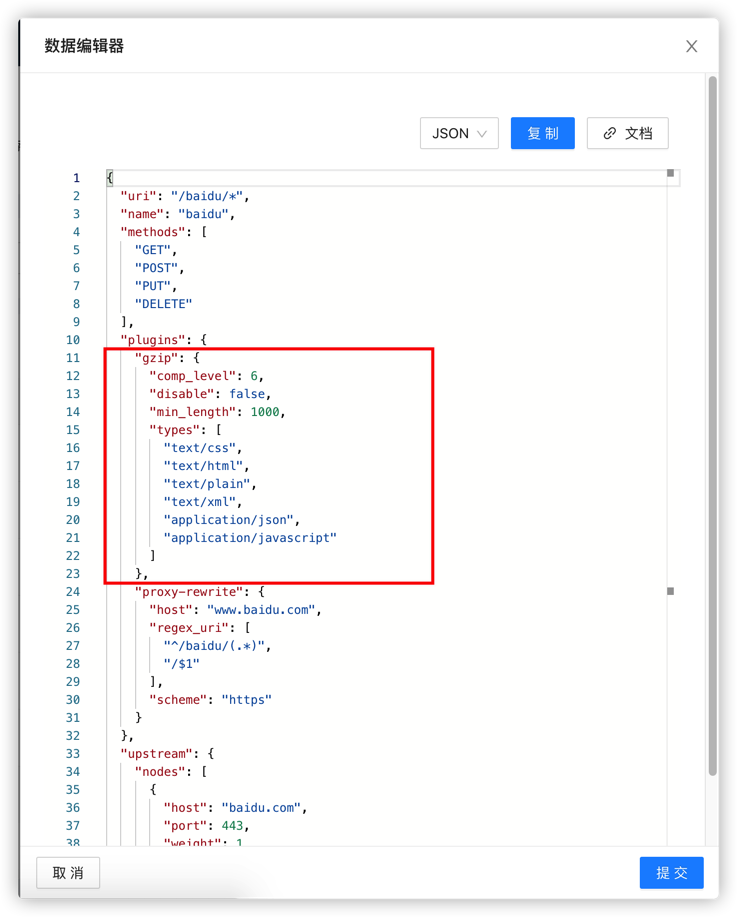
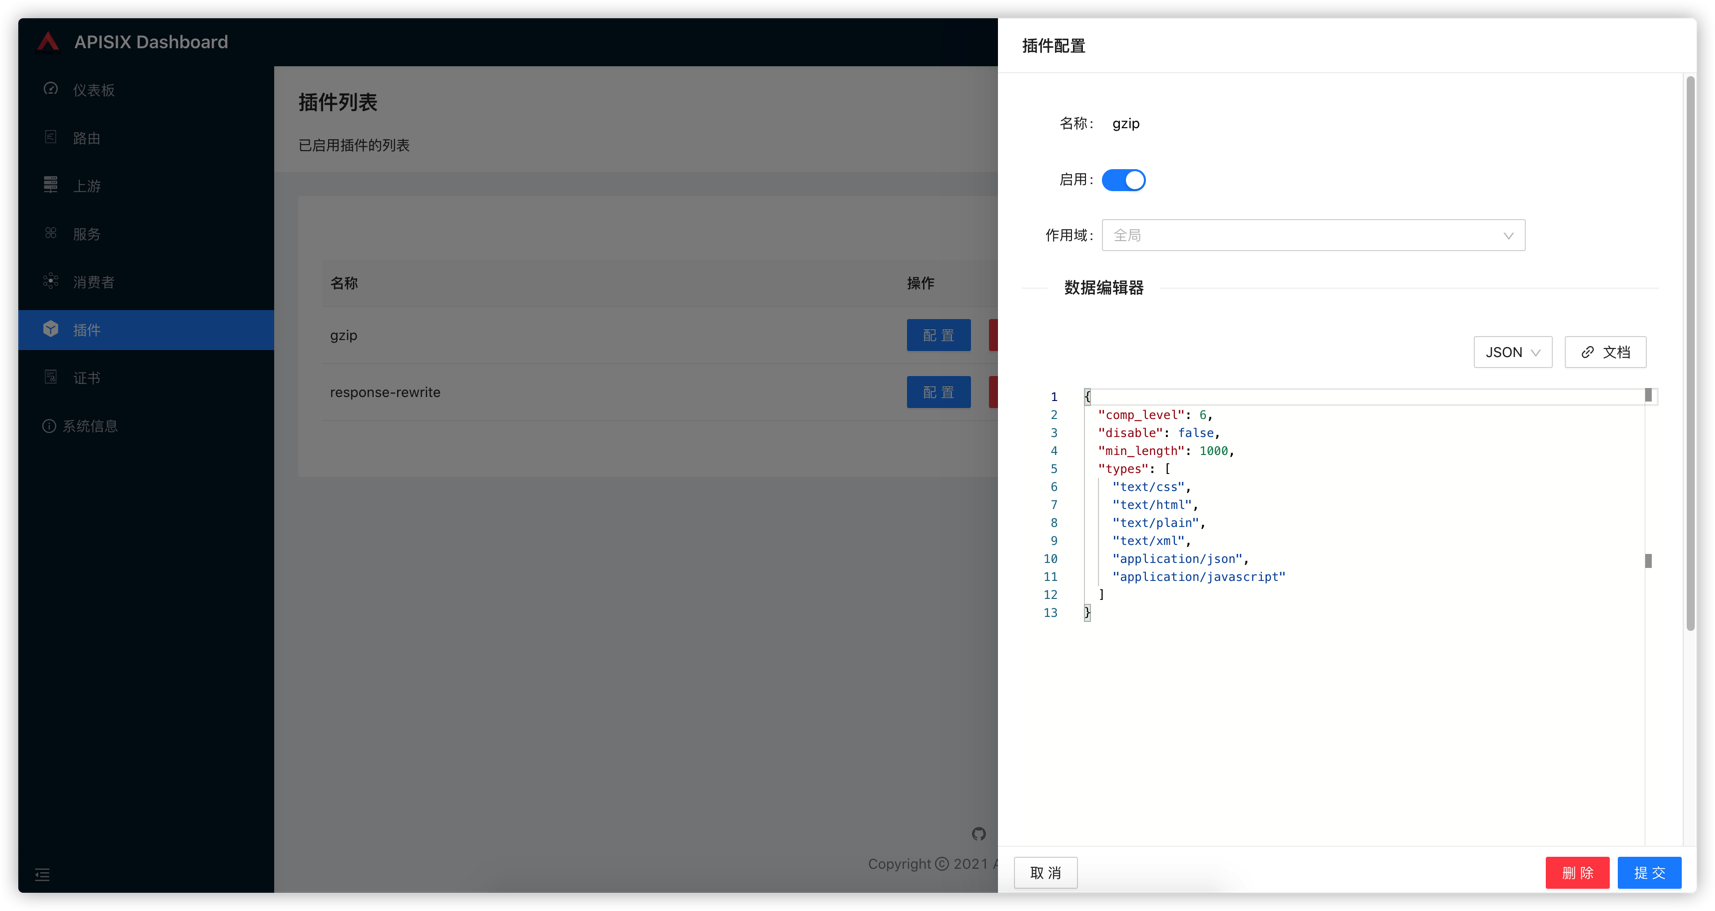
配置 gzip
- 第一种
1 | nginx_config: |
- 第二种
可以配置指定路由,也可以配置全局路由级别的。需要自己为 Apache APISIX 构建 OpenResty,参考https://github.com/api7/apisix-build-tools
- 指定路由级别
1 | { |
- 全局路由级别
1 | { |
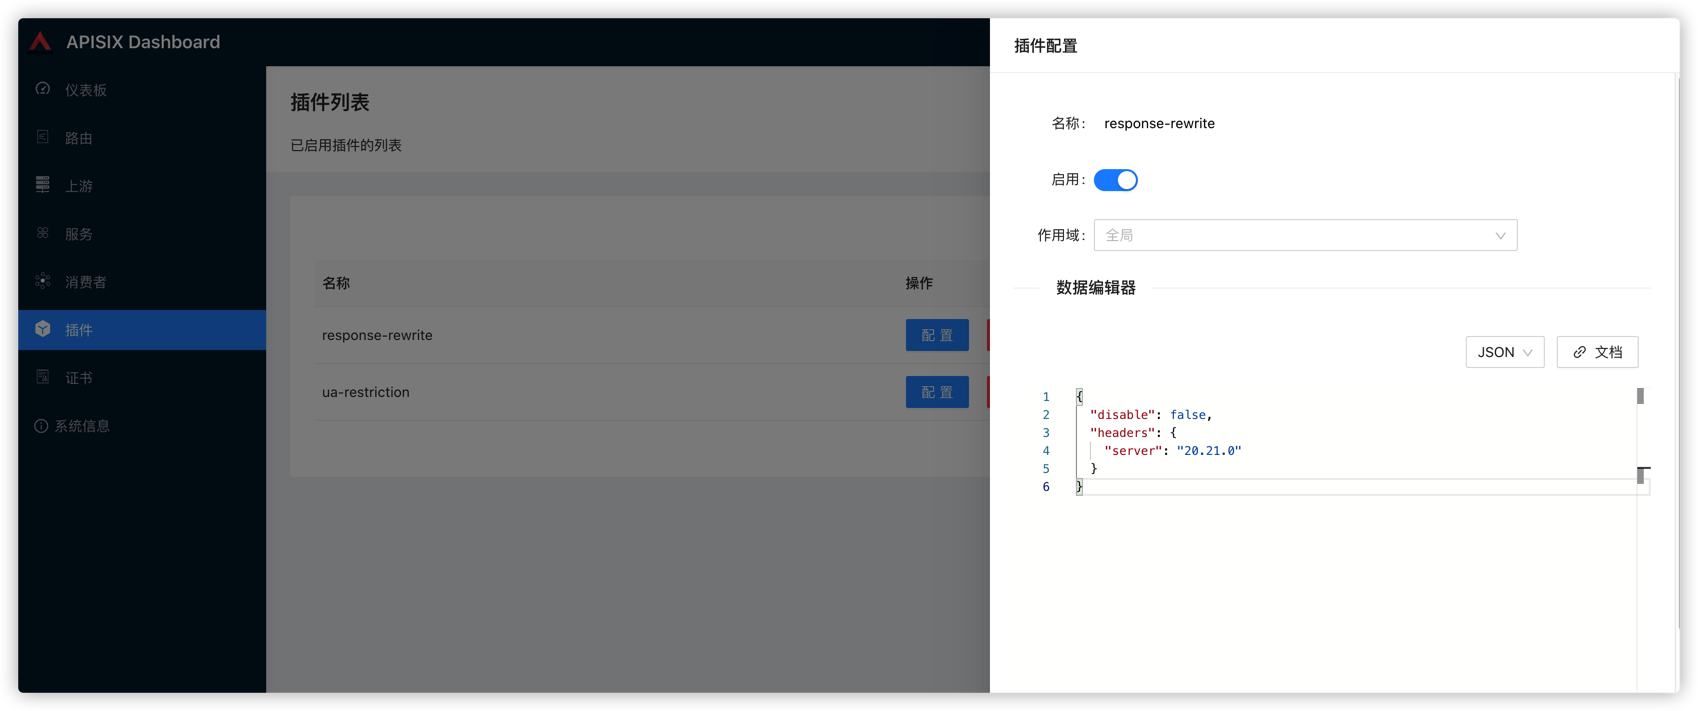
response-rewrite
配置全局插件,修改
server响应头,避免暴露 apisix 服务版本
1 | { |
配置路由级别
1 | "response-rewrite": { |
禁用 node-status
conf/config.yaml
1 | plugins: |
这样就不能通过 http(s)://example.com/apisix/status 查询 apisix 的状态信息了,或者通过interceptors保护该接口。
配置日志格式
1 | nginx_config: |
配置日志滚动
conf/config.yaml
1 | plugins: |
配置防爬虫策略
可以配置指定路由,也可以配置全局路由级别。
1 | { |
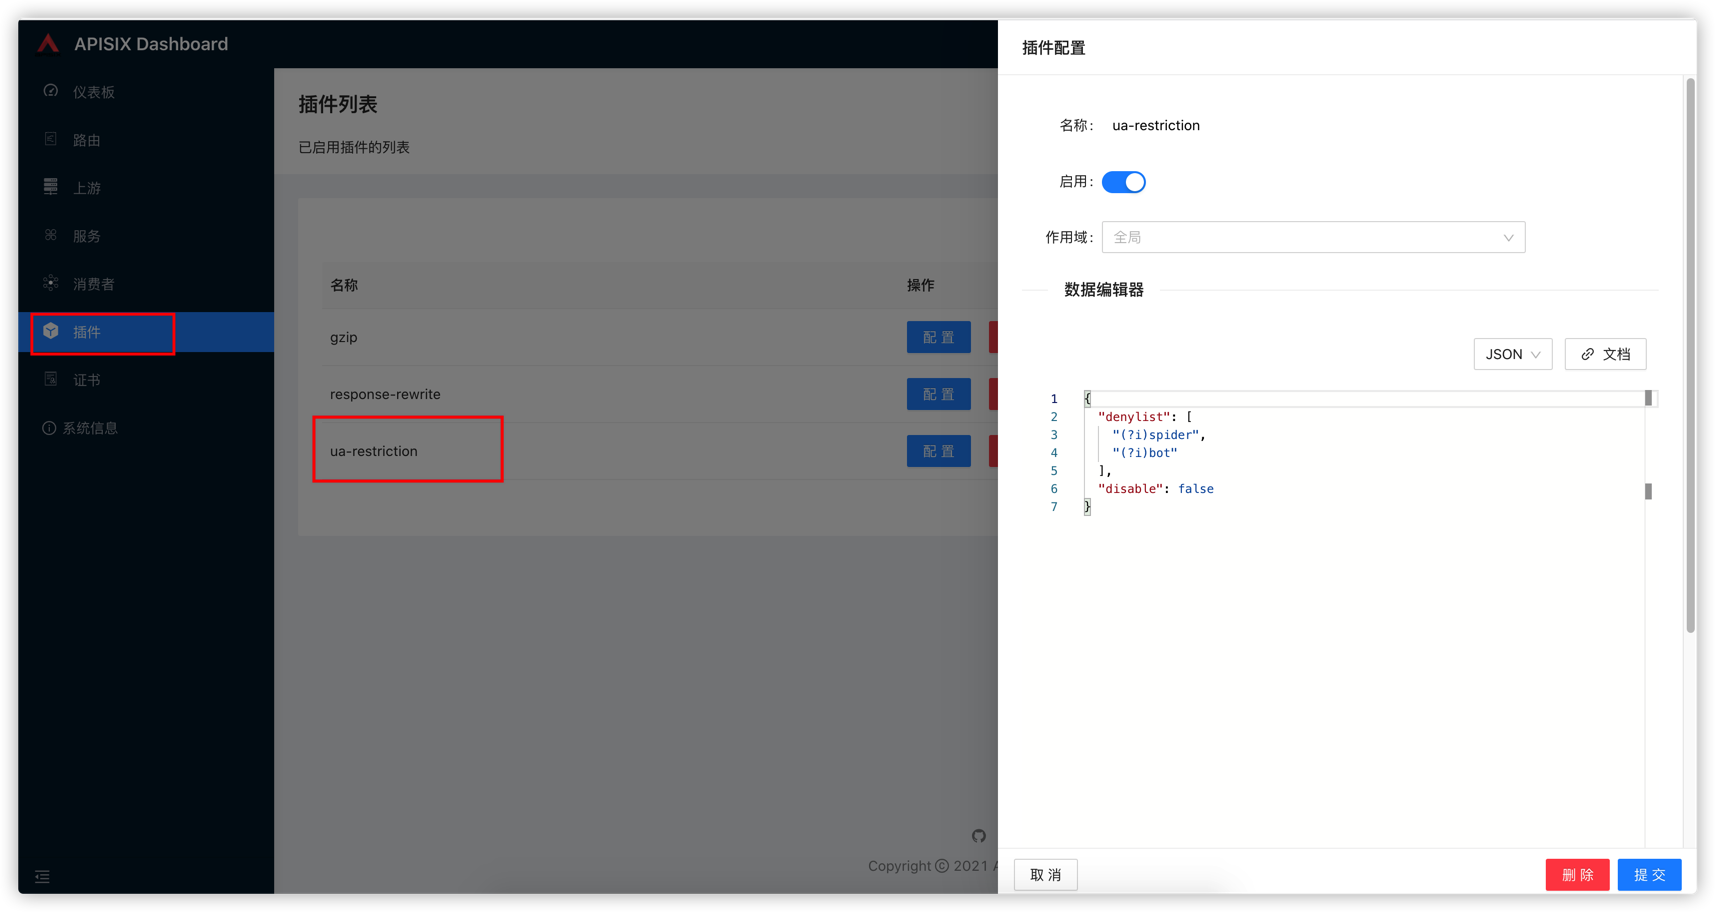
表示拦截 ua 包含 spider 或者 bot 的请求。(?i)表示不区分大小写。
apish-dashboard
配置 https
1 | conf: |
配置 ETCD TLS
1 | conf: |